New Macbook Guide
A new MacBook is a good excuse to rethink tooling and configuration from scratch. This is the guide I wrote for myself, so it’s very opinionated and specific, but some ideas might be usefull to share anyway.
Table of Contents 1
1. Introduction
1.1 Target Audience
This is my personal migration guide for setting up a fresh MacBook. It’s opinionated and assumes a very specific toolchain:
- Password Manager / SSH Agent: 1Password
- Package Manager: Homebrew (everything goes through Brew)
- Shell: Zsh with Starship prompt
- Terminal: Ghostty
- JavaScript/Typescript: pnpm
- Python: uv (Ruff as main)
- Editors: Cursor (VS Code backup)
- Browser: Brave
- Application Launcher: Raycast
It describes detailed configuration steps for very specific situations (like setting up a 1Password SSH agent connection with a Hetzner VPS). I’ve still chosen to post it here, though; the overall steps or structure of the dotfiles repository might be helpful for anyone reading.
1.2 Phases
The guide follows a deliberate order, and each phase builds on the previous:
| Section | Purpose |
|---|---|
| 2. Foundation | macOS setup, security, accounts |
| 3. Enablers | Xcode CLI tools, Homebrew |
| 4. Identity & SSH | 1Password, SSH keys, authentication |
| 5. Git | Clone dotfiles, configure Git |
| 6. Shell & Tools | Zsh, terminal, dev runtimes |
| 7. Applications | GUI apps, editor & AI configs |
1.3 Dotfiles
If possible, I try to use dotfiles to configure the settings of my applications. This allows me to use Git version manager. Not all applications offer this type of configuration though.
The repository can be found here:
https://github.com/jwa91/dotfiles
Canonical version for this guide: dotfiles v1.0.0
To streamline and standardize Python development, this repo is also needed:
https://github.com/jwa91/python-template
2. The Foundation (System & Accounts)
Do this before installing any software to avoid permission headaches later.
2.1 Update macOS
Run softwareupdate --all --install --force or check System Settings. Do this first to ensure Xcode tools match your OS version.
2.2 User Accounts (Security Best Practice)
Create a separate Admin account (managed by you) and downgrade your daily driver account to Standard user. This prevents accidental system-wide changes and limits malware reach.
macOS prompts for admin credentials when needed anyway, so even with an admin daily account, you’re already in a pseudo “standard + escalate” model. This makes the security model explicit and safer.
2.3 FileVault
Turn on FileVault (Disk Encryption) immediately in System Settings > Privacy & Security.
2.4 HostName
Give your machine a recognizable name (useful for networking/terminal prompts).
sudo scutil --set HostName "dev-macbook"
sudo scutil --set ComputerName "dev-macbook"
sudo scutil --set LocalHostName "dev-macbook"3. The Enablers
The core dependencies for everything else.
3.1 Xcode Command Line Tools
You rarely need the full Xcode app (~40GB) immediately. Start with just the CLI tools (~600MB).
xcode-select --install3.2 Homebrew
The Package Manager. Never install tools (Node, Git, Python) manually. Use Brew.
/bin/bash -c "$(curl -fsSL https://raw.githubusercontent.com/Homebrew/install/HEAD/install.sh)"4. Identity and SSH
Establish cryptographic identity and a reusable SSH foundation.
4.1 Install 1password
1Password will be our SSH agent. Install both the desktop app and the CLI:
brew install --cask 1password
brew install 1password-cli
Roles:
- Desktop app → owns:
- SSH agent
- private key storage
- Touch ID / Apple Watch auth
- CLI (op) → gives you:
- terminal access to vaults
- automation
- scripting
- future Git signing / secrets injection
4.2 Sign in to 1Password using the desktop app
- Sign in
- Enable:
- Start at login
- Keep in menubar
- Enable SSH Agent in Settings → Developer
4.3 Sign in to 1Password CLI
- Sign in:
op signin- Verify:
op whoamiBefore we continue: It helps to briefly explain the general set up. We will maintain one SSH key per security domain, in my case I start with 2:
- GitHub key → Git operations only
- Hetzner key → VPS access only
The second one will most likely not be that useful for most people.
4.4 Generate the SSH keys in the 1Password app
- Go to your Personal / Private vault2As of now, the official, fully supported way to generate SSH keys for the 1Password SSH agent is still via the desktop app UI. The CLI can manage SSH items, but key generation and agent registration is still primarily app-driven on macOS.
- New Item → SSH Key
- Click Add Private Key → Generate New Key
- Use type Ed25519
- Give it a clear title like:
GitHub – MacBook Pro 2025 - Save
- Repeat for Hetzner
Now 1Password holds:
- private key
- public key
- fingerprint
No ssh-keygen needed on the Mac.
4.5 Prepare Public Keys locally
- Open 1Password.
- Select your GitHub key item.
- Under the section “public key”, click only on the key code (starts with
ssh-ed25519...) to copy it. - Create the file:
mkdir -p ~/.ssh
nano ~/.ssh/github.pub- Paste the public key and save.
- Repeat this for your Hetzner key (e.g.,
~/.ssh/hetzner.pub).
4.6 Register Keys at Services
Github
- Copy the public key to your clipboard:
pbcopy < ~/.ssh/github.pub- Go to GitHub Settings > SSH and GPG keys.
- Click New SSH key.
- Title:
Dev MacBook Pro 2025(or similar). - Key type: Authentication Key.
- Paste the key and save.
Hetzner
- Log in to the Hetzner Cloud Console in your browser.
- Select your server and click the >_ (Console) icon to open the terminal window.
- Log in with your credentials
- Open the authorized keys file:
nano ~/.ssh/authorized_keys-
Add the public key on a new line3Just
cmdvdoesn’t work in a browser console like this, but you can do right mouse click paste. -
Save and exit.
4.7 Configure SSH Config
Back in the terminal of the macbook, create and edit the SSH config file
nano ~/.ssh/configAdd the following configuration:
Host *
  IdentityAgent "~/Library/Group Containers/2BUA8C4S2C.com.1password/t/agent.sock"

Host github.com
  User git

Host hetzner
  HostName <YOUR_VPS_IP_OR_HOSTNAME>
User jw- Ensure 1Password is unlocked
- Run the GitHub test:
ssh -T git@github.comExpected output: “Hi [username]! You’ve successfully authenticated”
5. Git4In theory, sections 5-7 could be executed with a single script. I chose to split them up to keep a clearer overview.
Configure Git identity and preferences from dotfiles.
5.1 Clone the dotfiles repo
git clone git@github.com:jwa91/dotfiles.git ~/dotfiles5.2 Run the Git setup script
cd ~/dotfiles/git
./setup.sh
This creates the symlink.
5.3 Verify
git config --global --listWhat the dotfiles git/ folder contains:
| File | Purpose |
|---|---|
config | Global Git configuration |
commit_template.txt | Template shown when writing commits |
setup.sh | Symlinks config to ~/.gitconfig |
6. Shell, Terminal & Prompt
Bootstrap the shell environment and install the developer ecosystem.
6.1 Install Zsh Configuration
Run the first setup script. This focuses only on making your terminal look correct and behave smartly. It installs core shell dependencies (starship, fzf), sets up your plugins, and symlinks your config files (including Ghostty and Starship).
cd ~/dotfiles/zsh/setup
./install-zsh.sh
What this does:
- Installs Starship (prompt) & FZF (search)
- Symlinks
.zshrc,.zshenv, etc. - Sets up Ghostty config
- Creates
~/Developerand other base directories
Restart your terminal (or open a new tab) after this step to see the new prompt.
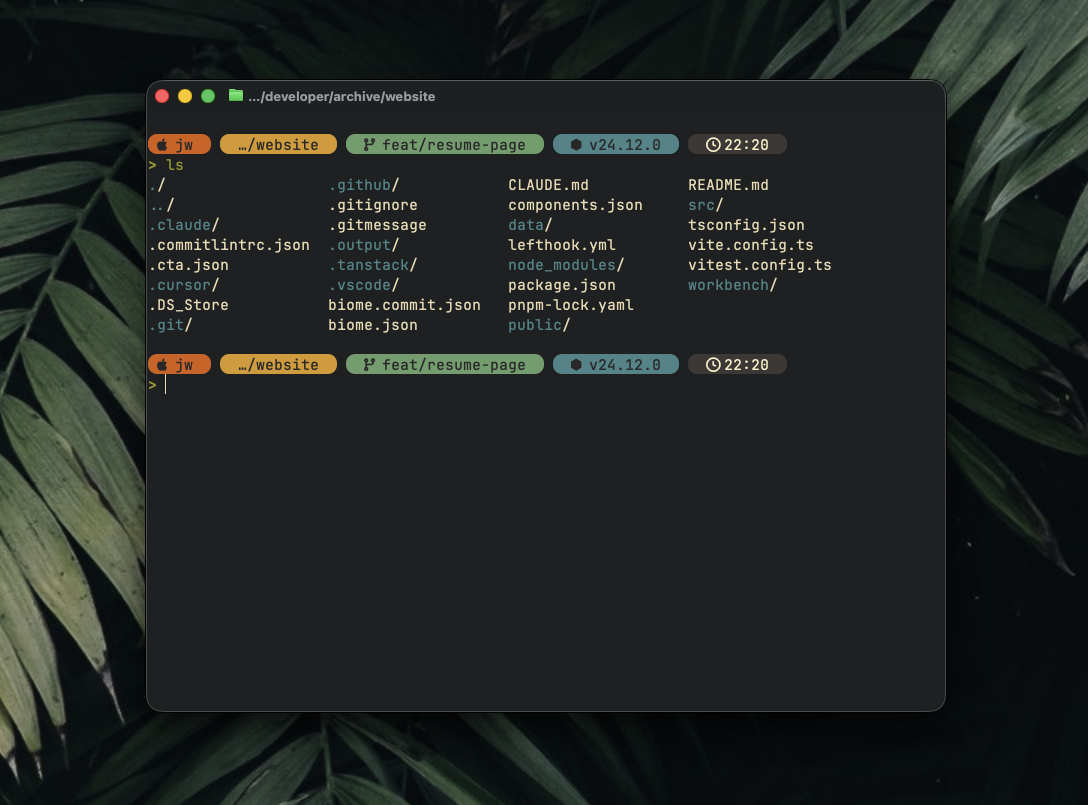
My Starship prompt in Ghostty
6.2 Install Developer Tools
Now that the shell is ready, install your actual work tools. This script uses Homebrew Bundle to install everything defined in Brewfile (language runtimes, tmux, secret-scanning tools, terminal app, fonts, etc.).
./install-tools.shWhat this does:
- Installs Core Tools:
git,tmux,pre-commit,gitleaks - Installs Language Runtimes:
bun,pnpm,uv - Installs GUI Apps:
ghostty - Installs Fonts:
JetBrainsMono Nerd Font - Clones Templates: Fetches your Python templates to
~/Developer/templates
To learn more about that last thing, see the dedicated Git repository.
7. Applications & Config
Install GUI apps and symlink their configurations.
7.1 Install Applications
With the shell script..
cd ~/dotfiles/config/setup
./install-apps.sh
..the following Brewfile will get installed:
# Development & IDEs
cask "cursor"
cask "visual-studio-code"

# AI & LLM Tools
cask "claude"
cask "claude-code"
cask "codex"
cask "ollama"

# Networking
cask "tailscale"

# Productivity & Utilities
cask "raycast"
cask "hiddenbar"

# Browsers & Communication
cask "brave-browser"
cask "whatsapp"
cask "telegram"

# Media
cask "spotify"

# CLI Tools
brew "gh"
brew "tree"
brew "curl"
brew "cheat"7.2 Link Application Configs
Symlink all application settings to your dotfiles:
./link-apps.shWhat this does:
- Links Cursor settings, keybindings, snippets, and MCP config
- Links VS Code settings, keybindings, snippets
- Links Claude Desktop config
- Links Claude Code settings, commands, and agents
- Links Codex config and instructions
- Links GitHub CLI config
- Links Cheat config and personal cheatsheets
- Links tmux config
For secret-bearing config files, the script uses a local runtime location:
~/.config/dotfiles-local/cursor/mcp.json~/.config/dotfiles-local/claude/claude_desktop_config.json
If these files do not exist, link-apps.sh initializes them from tracked example files in the dotfiles repo and then symlinks app paths to those local files. This keeps machine-specific auth material out of Git history.
7.3 First run after linking
After ./link-apps.sh, do this once:
# Fill local runtime values if needed
cursor ~/.config/dotfiles-local/cursor/mcp.json
cursor ~/.config/dotfiles-local/claude/claude_desktop_config.json

# Authenticate GitHub CLI (writes local auth state)
gh auth login

# Enable local secret scanning before each commit
cd ~/dotfiles
pre-commit install8. Next Steps
Given this is my first attempt at dotfiles, this repo will probably change often.
- Jan Willem
Related articles
- 8m
Dotfiles, Revisited
Three months and twelve tagged versions later: what changed in my dotfiles since the original MacBook setup guide, and why. Read → - 5m
Agent-Era Codebase Principles
An updated, consolidated list of principles for designing codebases that work well with coding agents - from scarcity to harness contracts. Read →